
Have you just made some delicious fruit-infused water kefir but aren’t sure how to care for your kefir grains? Here you’ll find all the information you need to store and reactivate your water kefir grains under the best conditions between batches.
Kefir grains are living microorganisms consisting of a balance of bacteria and yeast. They are used to make a sparkling drink rich in probiotics. Since they are sensitive to their environment, it’s essential to store them properly when not in use.
There are two main methods available: storing them in the refrigerator (ideal for short or medium breaks) and dehydrating them (better suited for long breaks).
😴🌡The refrigerator: for a few weeks
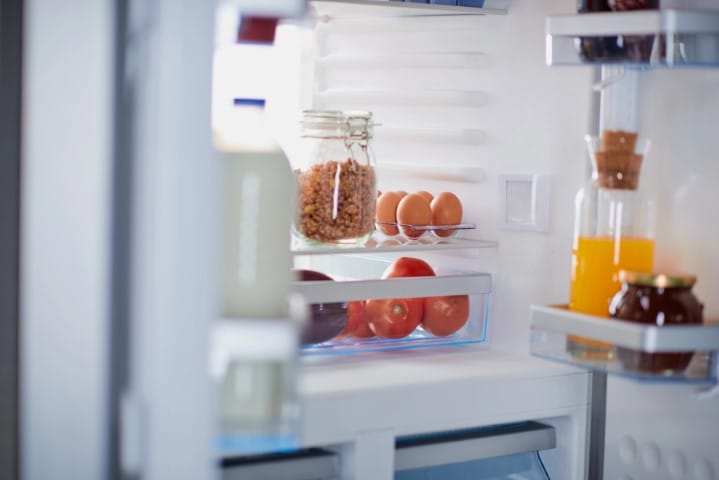 Storing kefir grains in the refrigerator is the most practical solution for a break lasting a few days to a few weeks. This method involves putting them into dormancy and providing them with a supply of sugar water to maintain their activity without excessive fermentation.
Basic preparation (short pause, 1 to 2 weeks)
- Place the grains in a clean glass jar.
- Cover them with non-chlorinated water (about 250 ml).
- Add 1 tablespoon of sugar.
- Close the jar without sealing it completely.
The grains can be stored this way in the refrigerator for one to two weeks. To reuse them, simply rinse them quickly with non-chlorinated water before starting a new batch.
Medium steep (2 to 3 weeks)
If you wish to extend the resting period, it is best to increase the amount of sugar so that the grains have enough “food.”
- Use 2 to 3 tablespoons of sugar per 250 ml of water.
- Change the sugar solution every 2 to 3 weeks if you want to extend storage.
This method keeps the grains viable for about 1 month, but when restarting, they may require 1 to 2 fermentation cycles before regaining their full vigor.
Long-term storage (up to 4 to 6 weeks)
Beyond one month, the risk of the grains weakening increases. However, by further increasing the sugar reserve, it is possible to store them longer.
- Prepare a jar with 1 liter of non-chlorinated water.
- Add 4 to 5 tablespoons of sugar.
- You may add a slice of lemon or a few raisins to diversify their diet.
Under these conditions, the grains can last up to 6 weeks. However, once removed from the refrigerator, you’ll need to reactivate them very gradually: rinse them, then perform 1 or 2 “test” fermentations before you’ll have a nice, bubbly drink again.
📆Dehydration: up to one year
 Dehydration is another useful method, especially if you plan to take a longer break from making kefir.
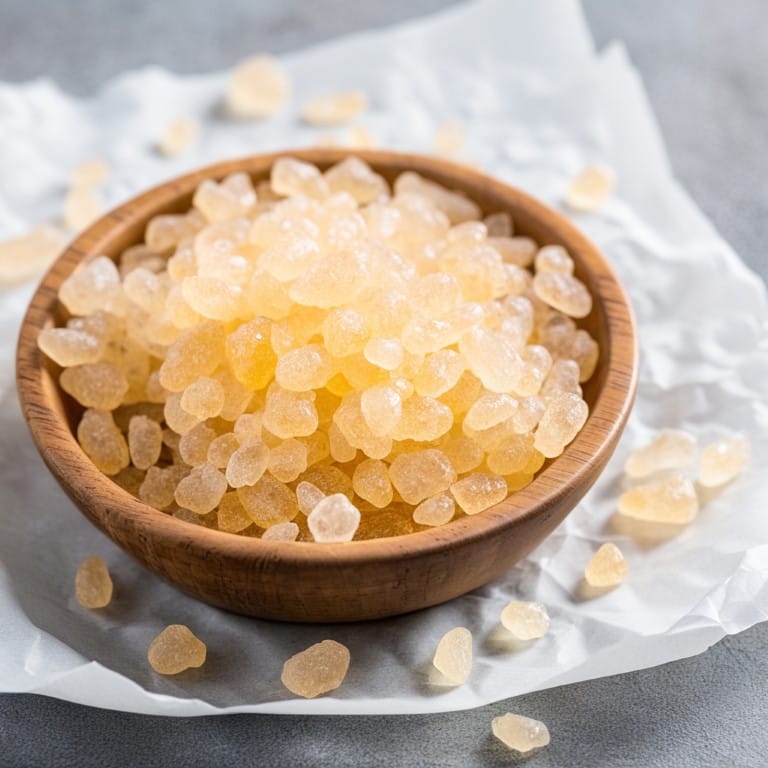
It involves spreading the rinsed grains on a sheet of parchment paper or a clean cloth, then letting them air-dry in a temperate place away from direct sunlight. Drying must be gradual to avoid damaging the microorganisms.
Once thoroughly dry, the grains become hard and translucent. You can then store them in an airtight jar in a cool, dry place, away from moisture. Under these conditions, they will keep for several months, or even up to a year.
However, when reactivating them, it may take a few days—or even a few fermentation cycles—for the grains to regain their full vigor.
❄️What about the freezer?
We sometimes hear about freezing as a preservation method. However, this is not a recommended approach. Extreme cold damages the gelatinous texture of the grains and destroys some of the bacteria and yeast.
Even if some people manage to reactivate them after freezing, the results are very unpredictable. Freezing significantly reduces the grains’ vitality.
💡⏰How do I reactivate my kefir grains after a long break?
When kefir grains come out of a prolonged rest, they may seem a little “tired.” Their activity is slowed down, and they sometimes produce a less fizzy drink, or one that’s slightly sour or bland. It’s therefore important to gradually reactivate them before resuming regular consumption.
Here is an easy and effective four-step method to reactivate your grains.
1️⃣ Gentle rinsing
Quickly rinse the grains with non-chlorinated water to remove the preservation solution. Avoid hot water or mineral water that is too high in chlorine or fluoride, as this could weaken them.
2️⃣ Initial reactivation fermentation
Place the grains in a jar with water, sugar (about 50 g per liter), and, if desired, a slice of lemon or some dried fruit.
Let ferment for 24 to 48 hours at room temperature (20–25 °C). This first batch can be consumed, but it often has a less pleasant taste.
3️⃣ Two or three successive cycles
Repeat the process one or two more times, always using the same sugar-water base. After 2 or 3 cycles, the grains generally regain their full vitality: the drink becomes more sparkling, more fragrant, and the grains swell again.
4️⃣ Back to the usual routine
Once the grains have regained their vigor, you can resume your classic kefir recipes (with fruit, herbs, etc.). If the grains remain inactive after 3 to 4 cycles, they may have been damaged and need to be gradually revitalized, or you may need to find new grains.
👉 So, the key is not to consume the first batch immediately after a long break but to allow for a short recovery period. This ensures you get tasty, bubbly kefir again while keeping your grains healthy.
Conclusion: Which method should you choose?
In summary, the refrigerator is the best solution for storing your water kefir grains for a short period, such as between batches or while you’re away on vacation for a few days.
Dehydration, on the other hand, allows for much longer storage, but requires a bit more preparation and patience during reactivation. The freezer, however, is not recommended because it irreparably damages the grains.
The key is to remember that kefir grains are alive: the more regularly they are used, the more active and vigorous they remain, and the better the drink they produce.


Leave a Reply